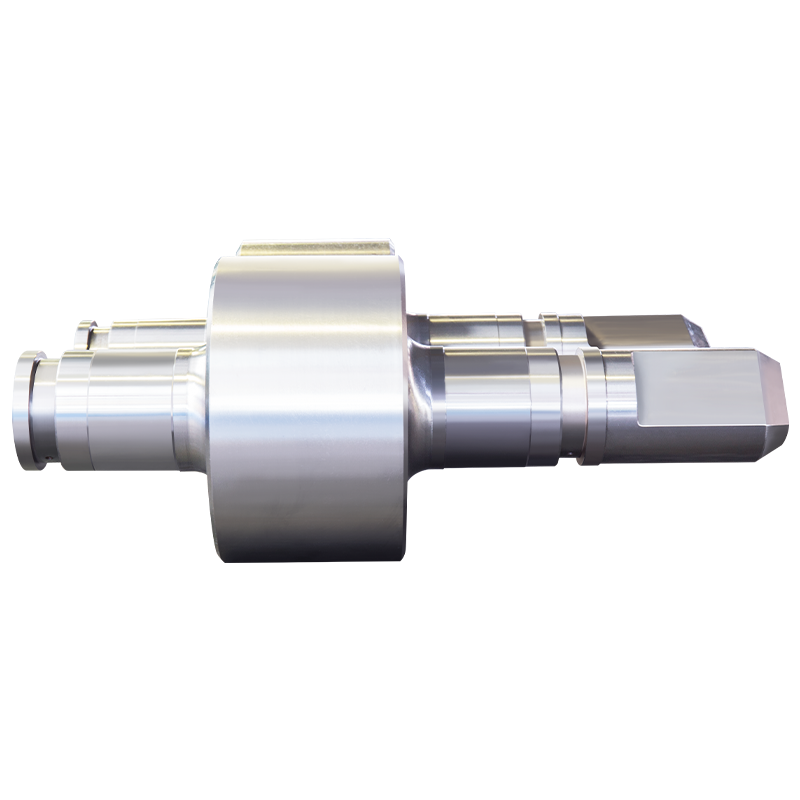
The initial assessment of an alloy cast steel rolls begins with a thorough visual and dimensional examination. This foundational step identifies surface defects and ensures the roll meets precise physical specifications before more advanced testing. Inspectors meticulously examine the entire roll surface, including the barrel and necks, for any signs of casting irregularities such as sand inclusions, gas porosity, slag patches, cold shuts, or cracks. The presence of such defects, even if superficial, can act as stress concentrators and lead to catastrophic failure under rolling loads. Simultaneously, critical dimensions are verified using precision instruments like micrometers, calipers, and laser scanners. The barrel diameter, length, neck diameters, and concentricity are checked against the manufacturing drawing's tolerances. Any deviation, especially in run-out or taper, can cause vibration during mill operation, leading to poor product quality and accelerated bearing wear.
The intrinsic quality of an alloy cast steel roll is determined by its chemical composition and internal microstructure, which directly govern its hardness, strength, toughness, and wear resistance. This analysis confirms that the roll is made from the correct grade of material and has been properly heat-treated.
Spectroscopic analysis is performed, often using Optical Emission Spectrometry (OES), to verify the percentage of all key alloying elements. A typical check includes:
The results must conform strictly to the specified grade range, as even minor deviations can significantly alter performance.
A sample section from the roll (often from the discarded end or a specially cast coupon) is prepared, polished, etched, and examined under a microscope. This reveals the microstructure. For a high-quality alloy cast steel roll, the desired structure is typically a tempered martensite or bainite matrix with a uniform dispersion of fine, hard carbides. Assessors look for:

This phase quantifies the roll's performance characteristics under simulated service conditions. Testing is performed on samples machined from the roll body or attached test blocks cast from the same heat.
Hardness is the most frequently checked property, indicating wear resistance. It is measured across the roll barrel face and depth using standardized methods:
| Scale | Typical Range for Alloy Cast Steel Rolls | Measurement Purpose |
| Shore Scleroscope (HS) | 60 - 85 HS | Common surface specification, non-destructive. |
| Brinell (HBW) | 400 - 650 HBW | Standard for material certification. |
A consistent hardness profile across the barrel length and from surface to core (within specified limits) is essential to ensure uniform wear and prevent spalling.
NDT is critical for detecting internal flaws without damaging the roll. Ultrasonic Testing (UT) is the primary method, where high-frequency sound waves are transmitted into the roll. Reflections from internal discontinuities like shrinkage cavities, hot tears, or non-fusion zones are displayed on a screen. A skilled technician maps the location, size, and orientation of any defect. The acceptance or rejection is based on pre-defined criteria regarding defect size, location (e.g., subsurface vs. deep core), and its proximity to critical stress areas like the neck fillet. Other NDT methods like Magnetic Particle Inspection (MPI) may be used on surface areas to reveal fine cracks.
For rolls already in service, quality assessment shifts from laboratory tests to operational performance metrics. This real-world data is invaluable for validating the initial quality and guiding future purchases. Key performance indicators (KPIs) are meticulously tracked for each roll set, including the total tonnage rolled before requiring re-grinding, the number of regrinding cycles achieved over its lifetime, and the reasons for final removal from service (e.g., wear, spalling, neck bearing failure). Consistent, superior performance across multiple campaigns from a specific manufacturer or melt is a powerful indicator of high and consistent quality. This data is often compiled into a roll passport or log, creating a comprehensive life history that informs maintenance schedules and roll selection for different mill stands.
Assessing roll quality extends beyond the physical product to the capability and reliability of the manufacturer. A comprehensive supplier audit evaluates the entire production process. This includes reviewing their quality management system certifications (e.g., ISO 9001), inspecting foundry practices, melt process control, heat treatment facilities, and machining capabilities. Reviewing the supplier's test certificates (Material Test Certificates or Mill Certificates) for chemical and mechanical properties is mandatory. A reputable supplier provides full traceability from the melt heat number to the finished roll. Establishing a partnership with a technically proficient supplier who conducts rigorous in-process inspections is often the most effective long-term strategy for ensuring consistent roll quality.